When you check for Polygon on the network list of your MetaMask wallet, you won’t find it there. When trying to set up Polygon on your MetaMask, you will find this article informative and very helpful. It’s no news that Polygon has gained much significance in the crypto industry. Polygon was formerly known as the Matic network before becoming famous for its lower fees, rapid processing, and spectacular scalability.
Since Polygon isn’t on the “network list” of your MetaMask wallet, you must personally add it to your MetaMask wallet. Setting up Polygon on MetaMask is a relatively easy task. This tutorial lets you learn the complete procedure quickly because it is explained in a way that anyone can effortlessly comprehend.
What is the Polygon Network? [MATIC]
Polygon is a platform focused on creating blockchain systems and networks compatible with Ethereum. Polygon is also called a layer 2 blockchain whose primary purpose is to assist Ethereum by adding to its scalability. These Layer 2 blockchains are tasked with working on pre-existing chains, thereby providing different kinds of advantages. One of the many advantages of the Matic network, or Polygon, is that it is a good alternative to the Ethereum network.
Ethereum is only able to process 14 transactions per second, and each transaction price ranges between $25 and $1000. This is because of the highly congested network. This issue is a prevalent challenge most users face when trying to transfer tokens or use Ethereum smart contracts on the Ethereum network. In some instances, the gas fees may increase rapidly and cost a lot of money, up to thousands of dollars.
Compared to Ethereum, a much slower and more expensive option, Polygon should be your preferred choice if you seek a swift, less expensive, and much better experience. Polygon is way faster than Ethereum because it can process about 65,000 transactions every second. This proves that Polygon is a much better alternative to Ethereum.
In processing transaction batches, Polygon (Matic Network) always uses its proprietary proof-of-stake (POS). By doing so, it results in a reduction in the total cost of a transaction. A typical case is where you pay a tiny bit of the fee that is to be paid every time you make a single transaction through Ethereum. Having gone through a quick overview of what Polygon is, we can now learn the steps for adding this Matic network to your existing MetaMask wallet.
What are the Steps to Adding Polygon to MetaMask?
How to Install MetaMask on Your Browser
If MetaMask is not installed on your browser, follow the steps below. But if you are already a user of MetaMask, you can skip this section.
- You can start by going to the official website of MetaMask and downloading the extension. MetaMask can function with a range of internet browsers (browsers like Firefox, Microsoft Edge, Safari, and many more). MetaMask is also compatible with both iOS and Android devices.
- When the instruction on-screen is followed, creating a MetaMask wallet can be done effortlessly. But when you want to store the backup seed phrase, you must be cautious. Be sure to have this backup seed phrase written down somewhere, you will permanently lose access to your account if you lose those phrases.
Having done this, we can assume you have successfully created your MetaMask wallet.
How to Add Polygon to MetaMask
After installing Polygon on your PC, click on the MetaMask extension you downloaded in your browser and follow the steps below.
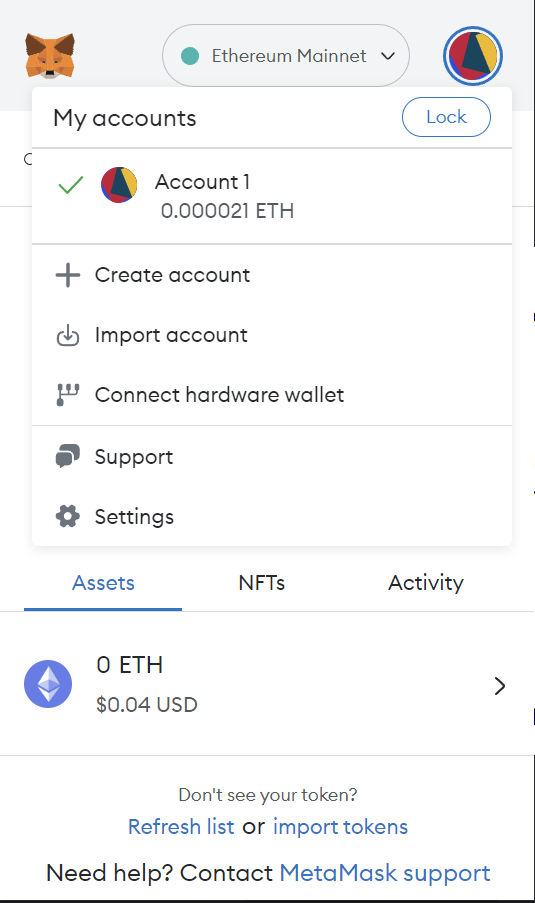
- Start by clicking on your profile icon at the top right, and go to your settings.
- Keep scrolling until you see the option that states “networks.” Click on it
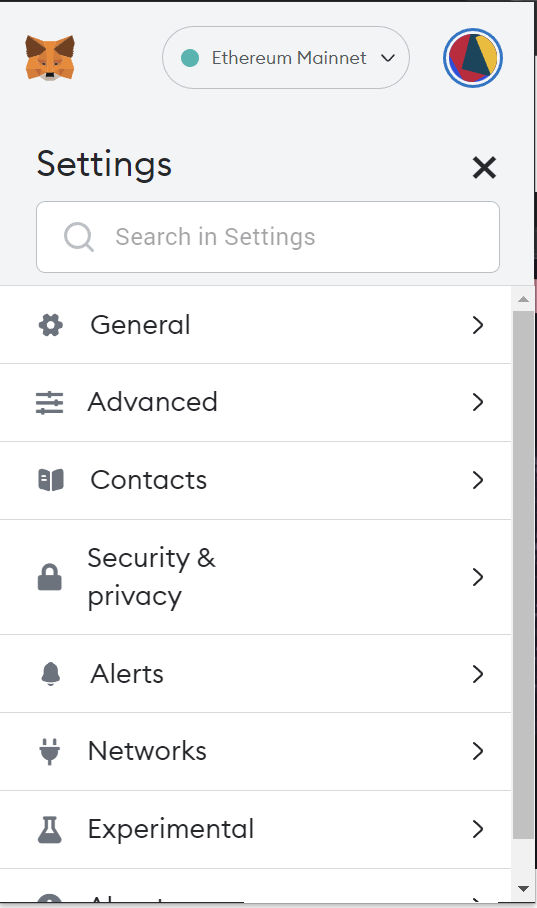
- After you click on networks, you can proceed to “add networks.”
After you click on add network, you will be redirected to the MetaMask official website.
The addition of the Polygon network to your MetaMask is the same as on your mobile device. All you need to do is open the hamburger menu. Here, you will find settings. When you open settings, this takes you to the settings page of your MetaMask wallet. On this page, you select networks, then click “add network.”
Now, let’s go back to the browser extension process:
After being redirected to the MetaMask page, you will be given options for the mainnet you would like to add. Polygon is among these options, you can add polygon from the quick add options or select “add a network manually”.
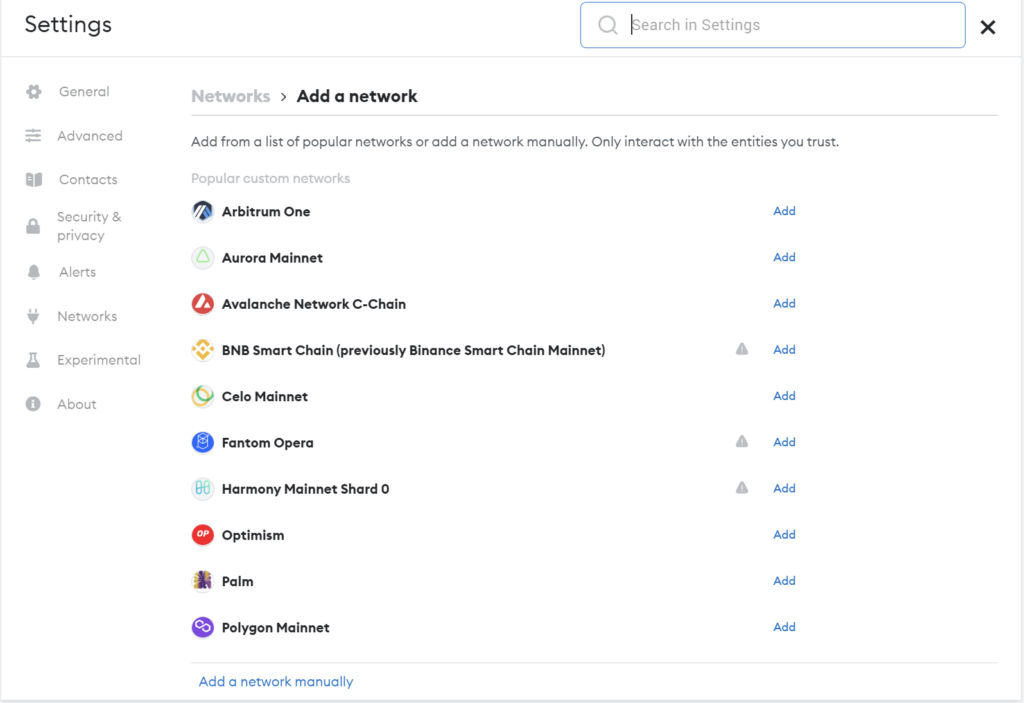
If you decide to add Polygon Mainnet manually, we have provided all the information you will need. All you need to do is fill in each relevant field with the correct information.
Network: Polygon
New RPC URL: https://polygon-rpc.com or https://rpc-mainnet.maticvigil.com/
Chain ID: 137
Currency symbol: Matic
Block URL: https://polygonscan.com
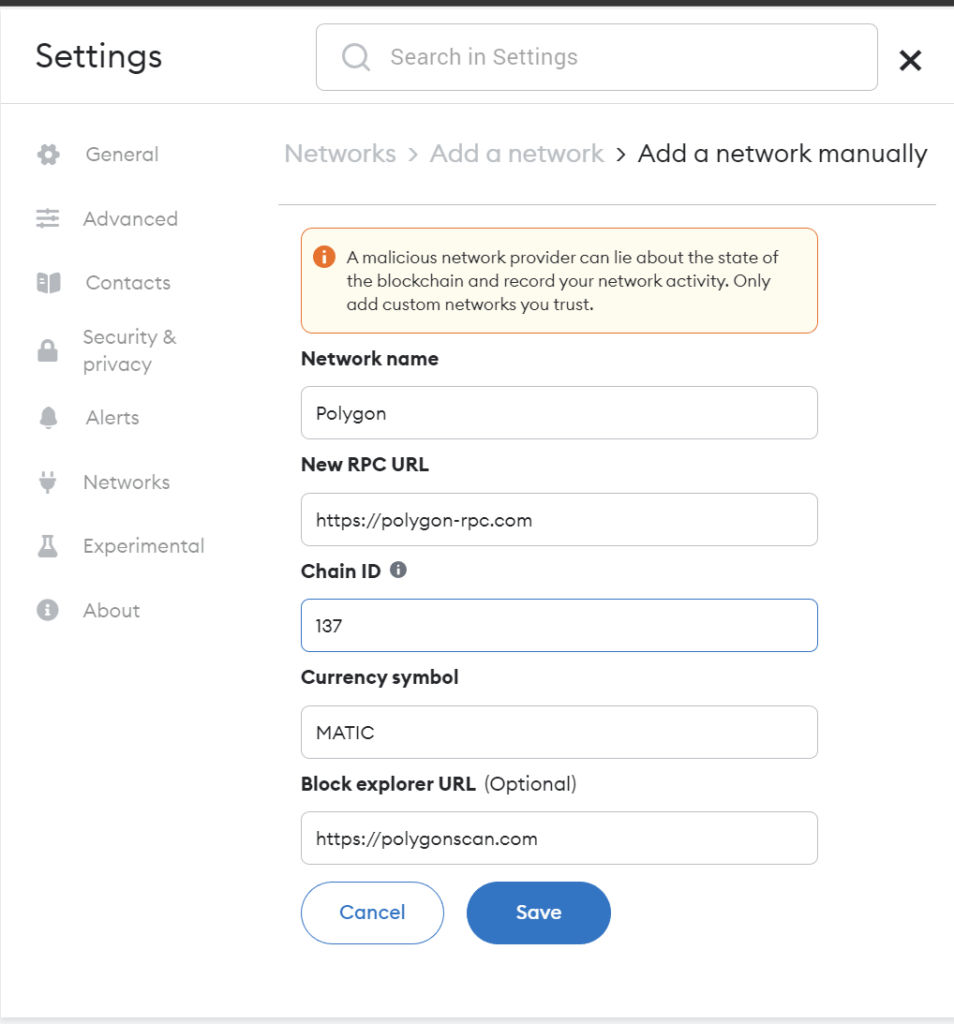
Each field listed above has been further explained. Do well to read to understand the relevance of each piece of data.
Network Name: This field represents the network’s name, and in this instance, it represents Polygon. Input “polygon” into the field created to add it to your MetaMask.
RPC URL: in this field, a polygon node URL is required. Simply put, this is the address you will use whenever you want to transact using your MetaMask wallet.
Chain ID: in this field, you must type in a chain ID. The current chain ID of Polygon is “137.”
Currency symbol: The symbol of a cryptocurrency that is available on a particular network. The symbol for Polygon is MATIC.
Block Explorer URL: This field refers to the explorer connected to your blockchain. When this URL is visited, the interactions that have to do with transactions and smart contracts can be seen. “Polygon scan” is the known block explorer for the Polygon network.
When all this information has been dutifully provided, tap the “Save” button. By doing this, Polygon automatically becomes part of your “Network List.”
To ensure the polygon network has been successfully added to your MetaMask wallet, connect to Open Sea. If your Matic tokens are available, you have successfully added Polygon Mainnet to your MetaMask. However, if your Matic tokens are nowhere to be found, you should try changing the RPC URL.
Conclusion
When all of these steps are completed, you have undoubtedly been successful in adding Polygon to your MetaMask wallet. Now, interacting with Polygon can be done without any inconvenience. We sincerely hope that you enjoyed this blog and found its content helpful.
CryptoGlobally aims to offer impartial and trustworthy data on cryptocurrency, finance, trading, and shares. Yet, we can't give financial guidance and encourage individuals to conduct their own studies and thorough checks.